Introduction
Advanced Mobile & Web ERP Ecosystem for Sri Lankan SMEs
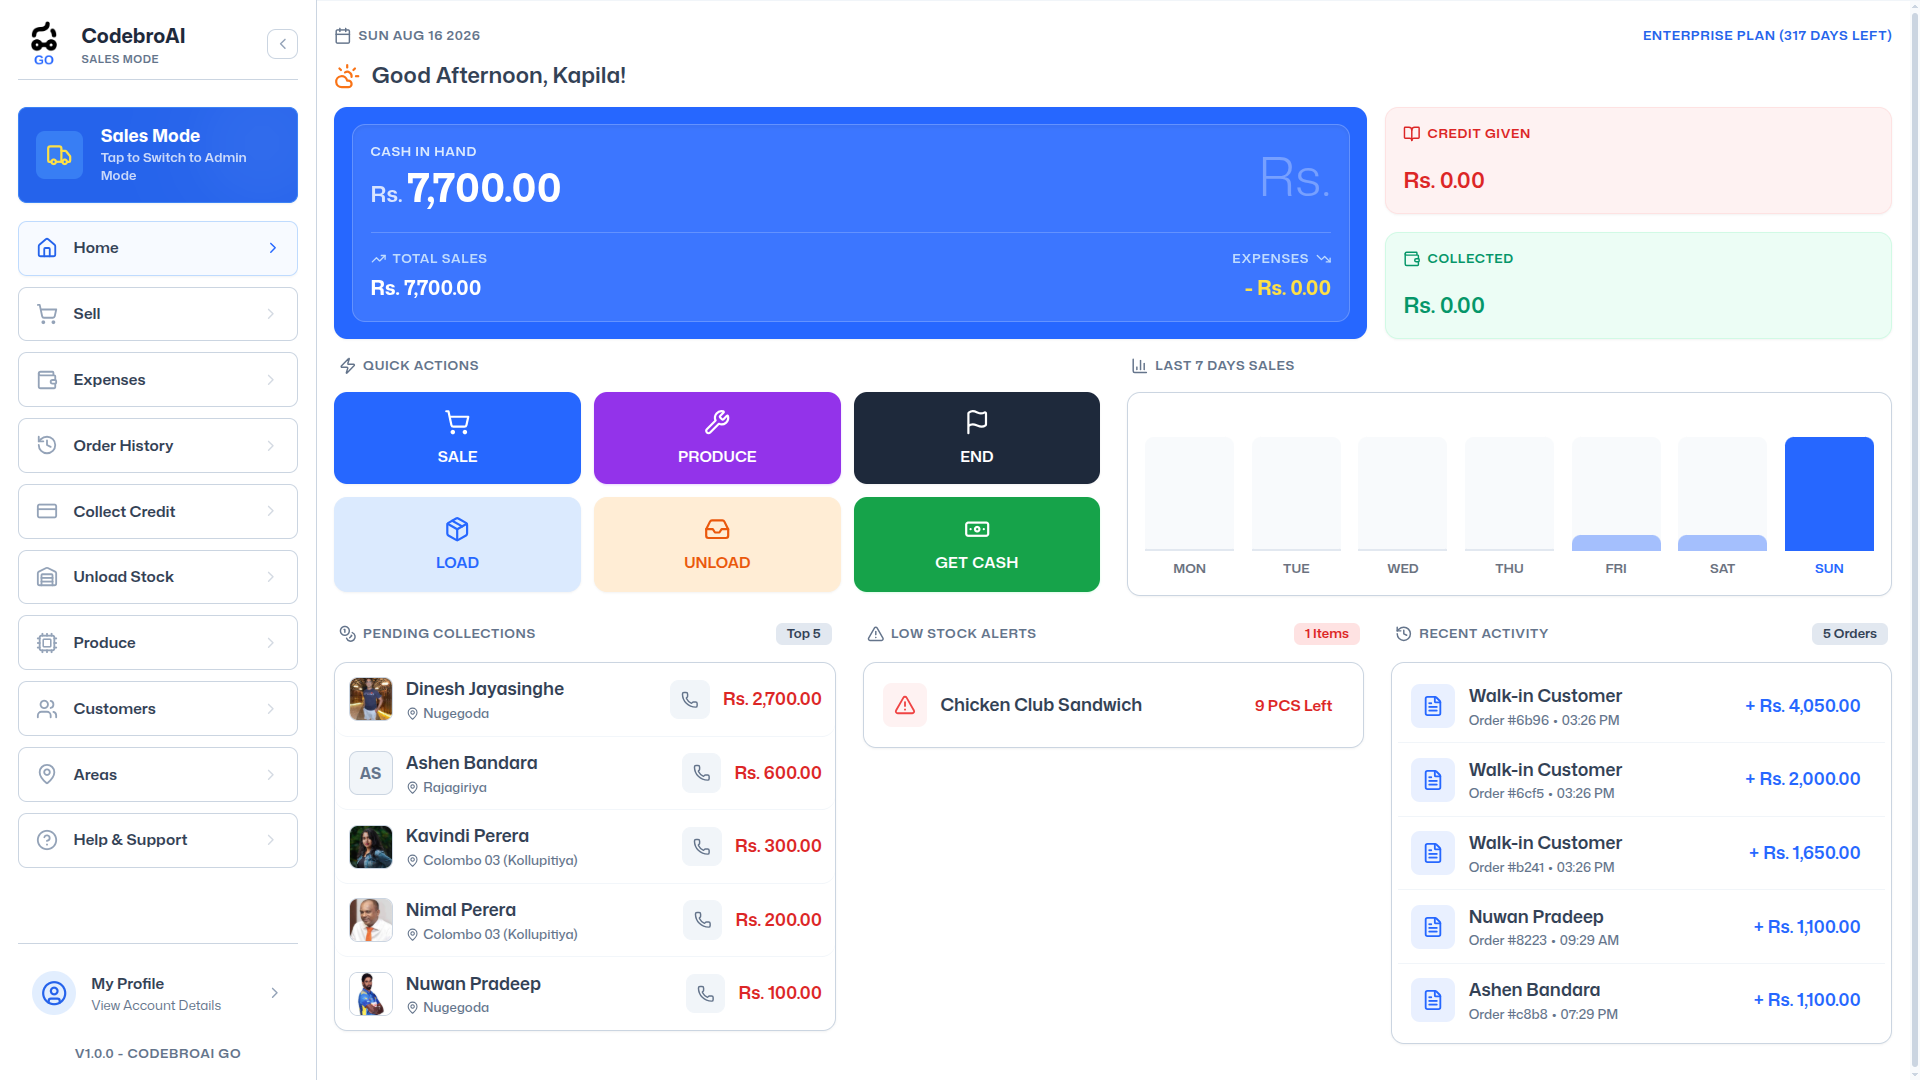
Welcome to CodebroAI GO. This guide will walk you through setting up, configuring, and scaling your business operations. Our system uses a hybrid offline-first architecture, allowing your field representatives and billing cashiers to transact 100% offline and auto-sync to the cloud once network connectivity is restored.
Understand the Core Architecture
CodebroAI GO consists of two integrated clients: a Web Dashboard console (for administrators) and an Android Mobile App client (for field staff and mobile billing). Both synchronize with a centralized Supabase cloud backend.
- Web Dashboard (goapp.codebroai.com): Used for analytical reports, user management, and configuration.
- Android App (go.codebroai.com/go): Built for field sales reps, thermal receipt printing, and geofenced deliveries.
Onboarding Flow Overview
To successfully launch the platform, you will register your tenancy on the Web console, configure your base product catalog, register employee accounts, and finally sync the mobile clients using your workspace token.
- Complete workspace registration.
- Define inventory items and categories.
- Generate tenancy token and link Android devices.
Tenancy Setup
Create and Configure your Business Workspace
Your business tenancy is an isolated database container. Setting up your workspace correctly ensures that your business metadata, currency configurations, and security protocols are initialized correctly.
Register a Business Tenancy Profile
Access goapp.codebroai.com and create a new workspace profile. Enter your business details, local currency parameters, and email details.
- Enter business brand name (e.g. 'Royal Bakers').
- Set primary region to Sri Lanka and currency denomination to LKR (Rs.).
- Define business address and contact parameters.
Obtain Workspace Tenancy Token
After verification, go to settings and locate your unique Tenancy Access Token. You will need to input this code when configuring the mobile APK.
SECURE_TENANT_TOKEN = "GB-COL-ROYAL-8892X"Inventory Management
Set Up Product Catalogs and Warehouse Logs
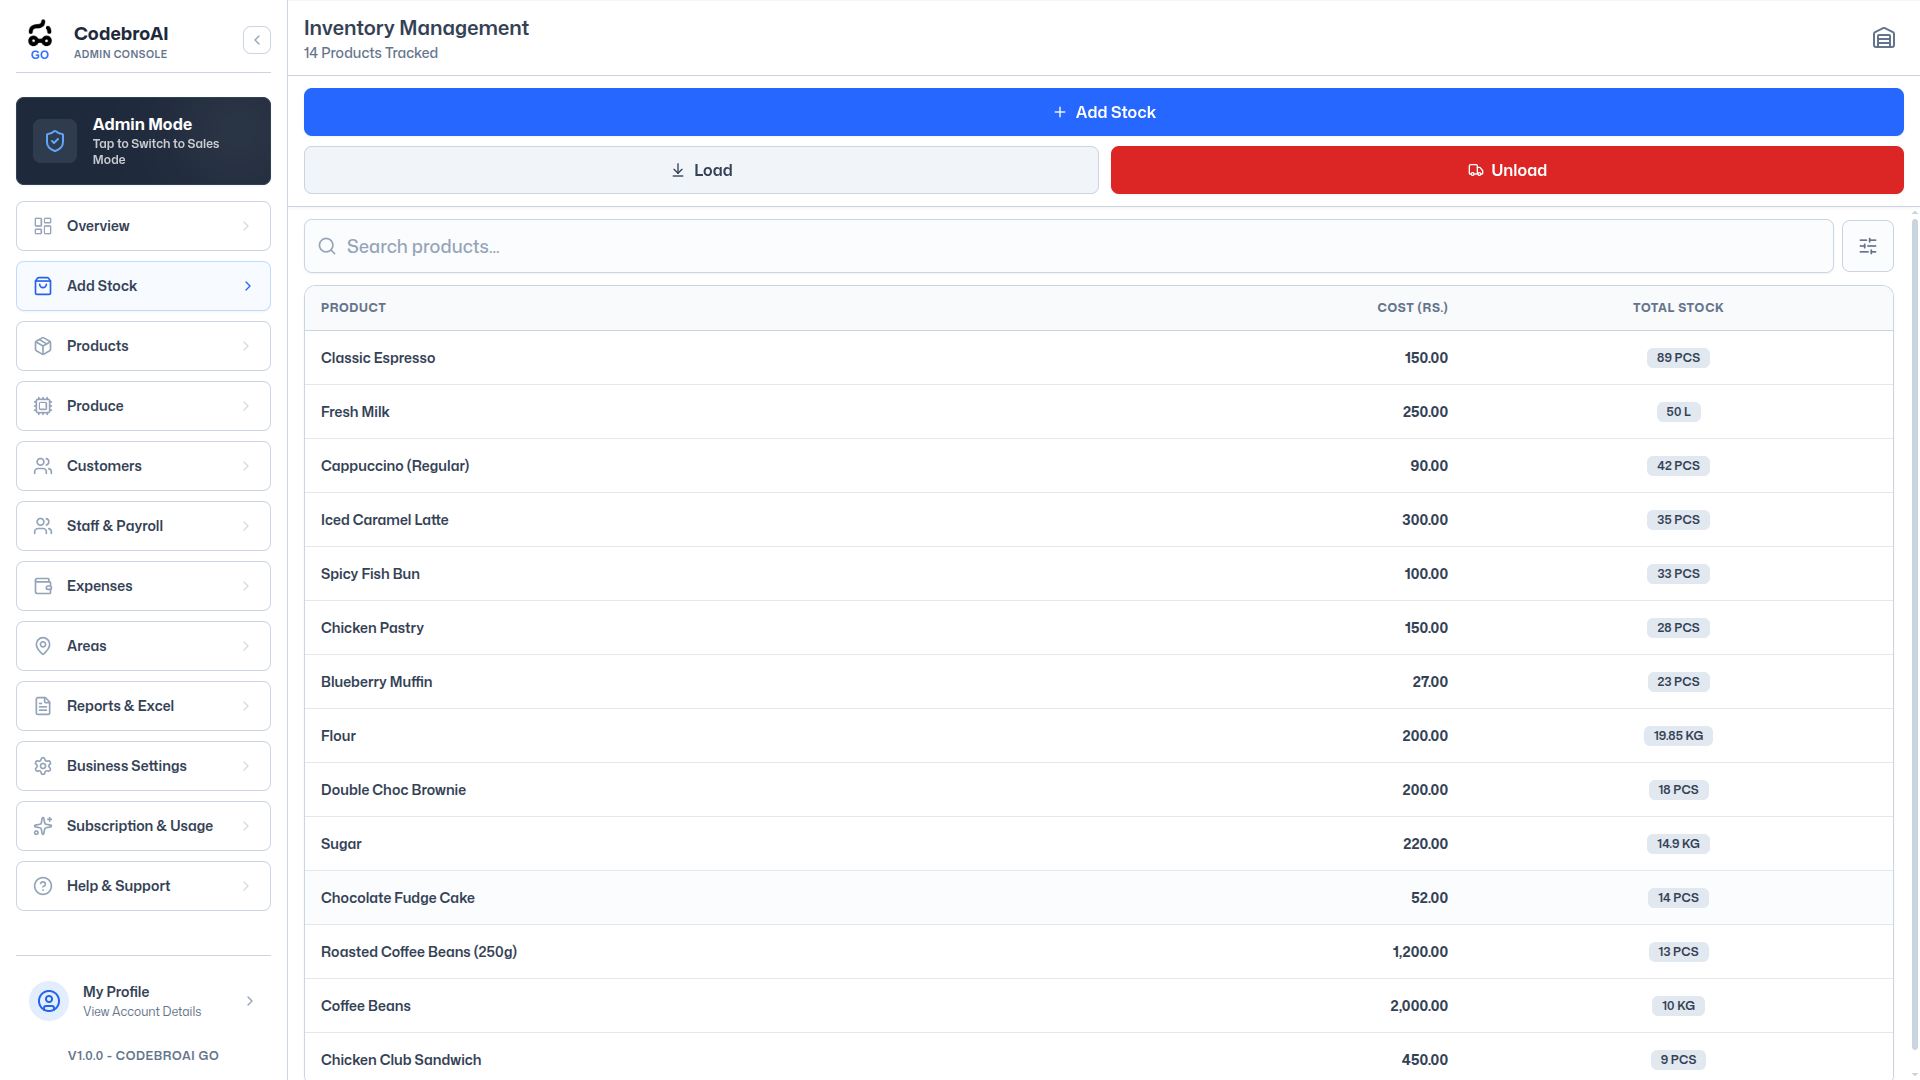
Configure product templates, measurement units, and warehouses. Keeping your product database uniform prevents sync errors between mobile clients and the cloud ledger.
Create Measurement Unit Templates
Define stock units (UOMs) such as Kilograms (kg), Liters (L), Packs (pk), or Units (pcs) before uploading items.
- Go to Products -> Units.
- Create standard and fractional units (fractional units are critical for ingredients, e.g. 0.05 kg of sugar).
Upload Product Catalog Items
Add inventory items, categorizing them as raw ingredients, manufactured assets, or standard retail items.
- Define default cost price (purchase price) and selling price (selling rate).
- Assign barcodes or generate custom QR strings.
- Add SKU descriptions to match invoice line formats.
Log Starting Stock Allocations
Initialize stock levels across multiple branch warehouses or sales rep vans by running stock adjustments.
- Go to Inventory Logs -> Stock Adjustments.
- Log stock counts and associate them with a designated Warehouse/Rep.
POS & Sales Billing
Configure Billing Terminals and Receipt Output Templates
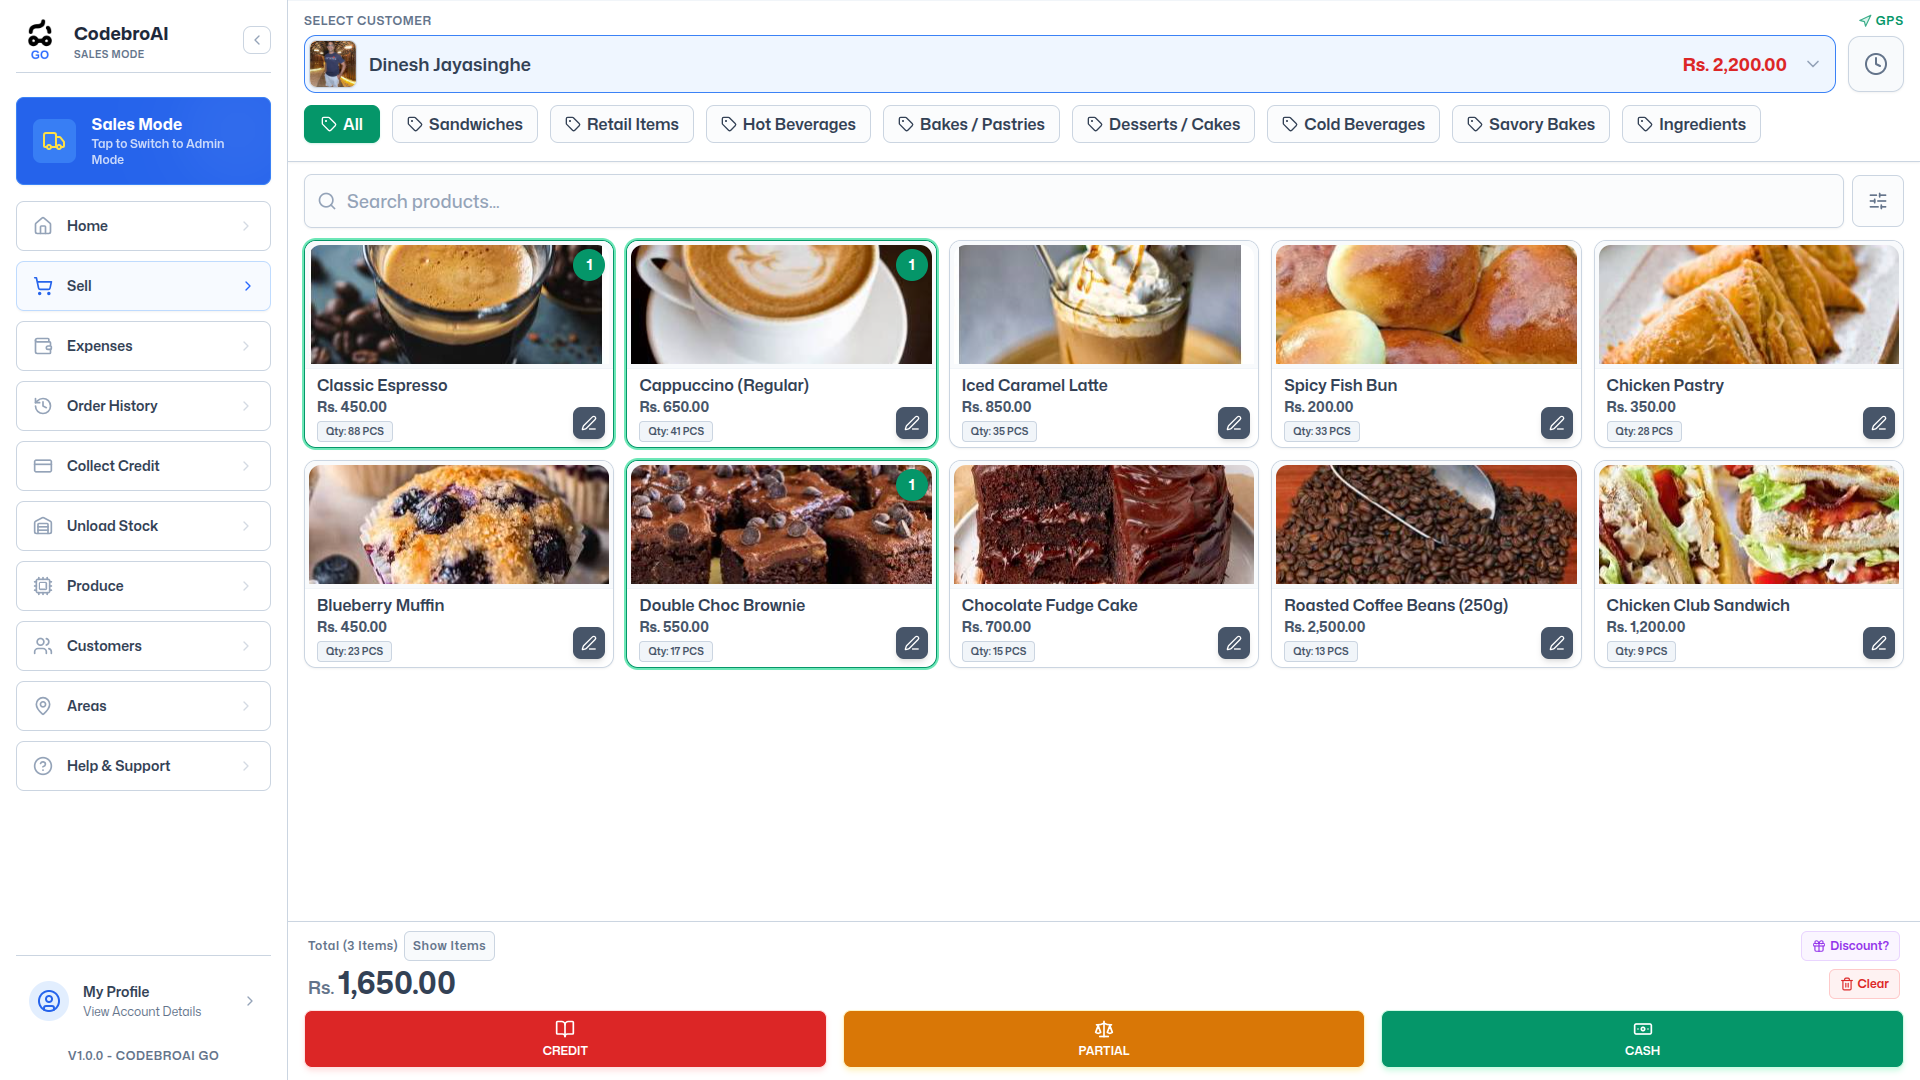
Set up your point-of-sale layout, thermal receipt formats, and tax rules. CodebroAI GO POS supports quick checkout grids and ESC/POS thermal printing.
Configure POS Interface Grid
Set up category filters and layout arrangements on the web console to expedite product lookups for billing cashiers.
- Assign high-frequency items to the dashboard favorites shelf.
- Set default cashier account login permissions.
Set Receipt Print Parameters
Format the layout of customer receipt slips. Define logo files, custom footer notes, and sizing specifications.
- Select paper width: 58mm (standard mobile printer) or 80mm (countertop POS printer).
- Set receipt header text (e.g., 'Thank you for shopping with us!').
- Define local tax rates and bill terms (e.g., 'No return without invoice').
Recipe & Formula Setup
Create Bill of Materials (BOM) for Production Costing
Specify recipe templates for bakeries, food services, or product assemblies. The system auto-calculates costs and handles inventory deduction automatically.
Define Recipe Formula Sheets
Select a manufactured item and associate its raw ingredients with exact gram or unit weight allocations.
- Go to Production -> Recipes -> New Recipe.
- Select finished item (e.g. 'Chocolate Cake 1kg').
- Add raw ingredients allocations (e.g., Flour: 450g, Cocoa: 100g, Eggs: 4 units, Sugar: 200g).
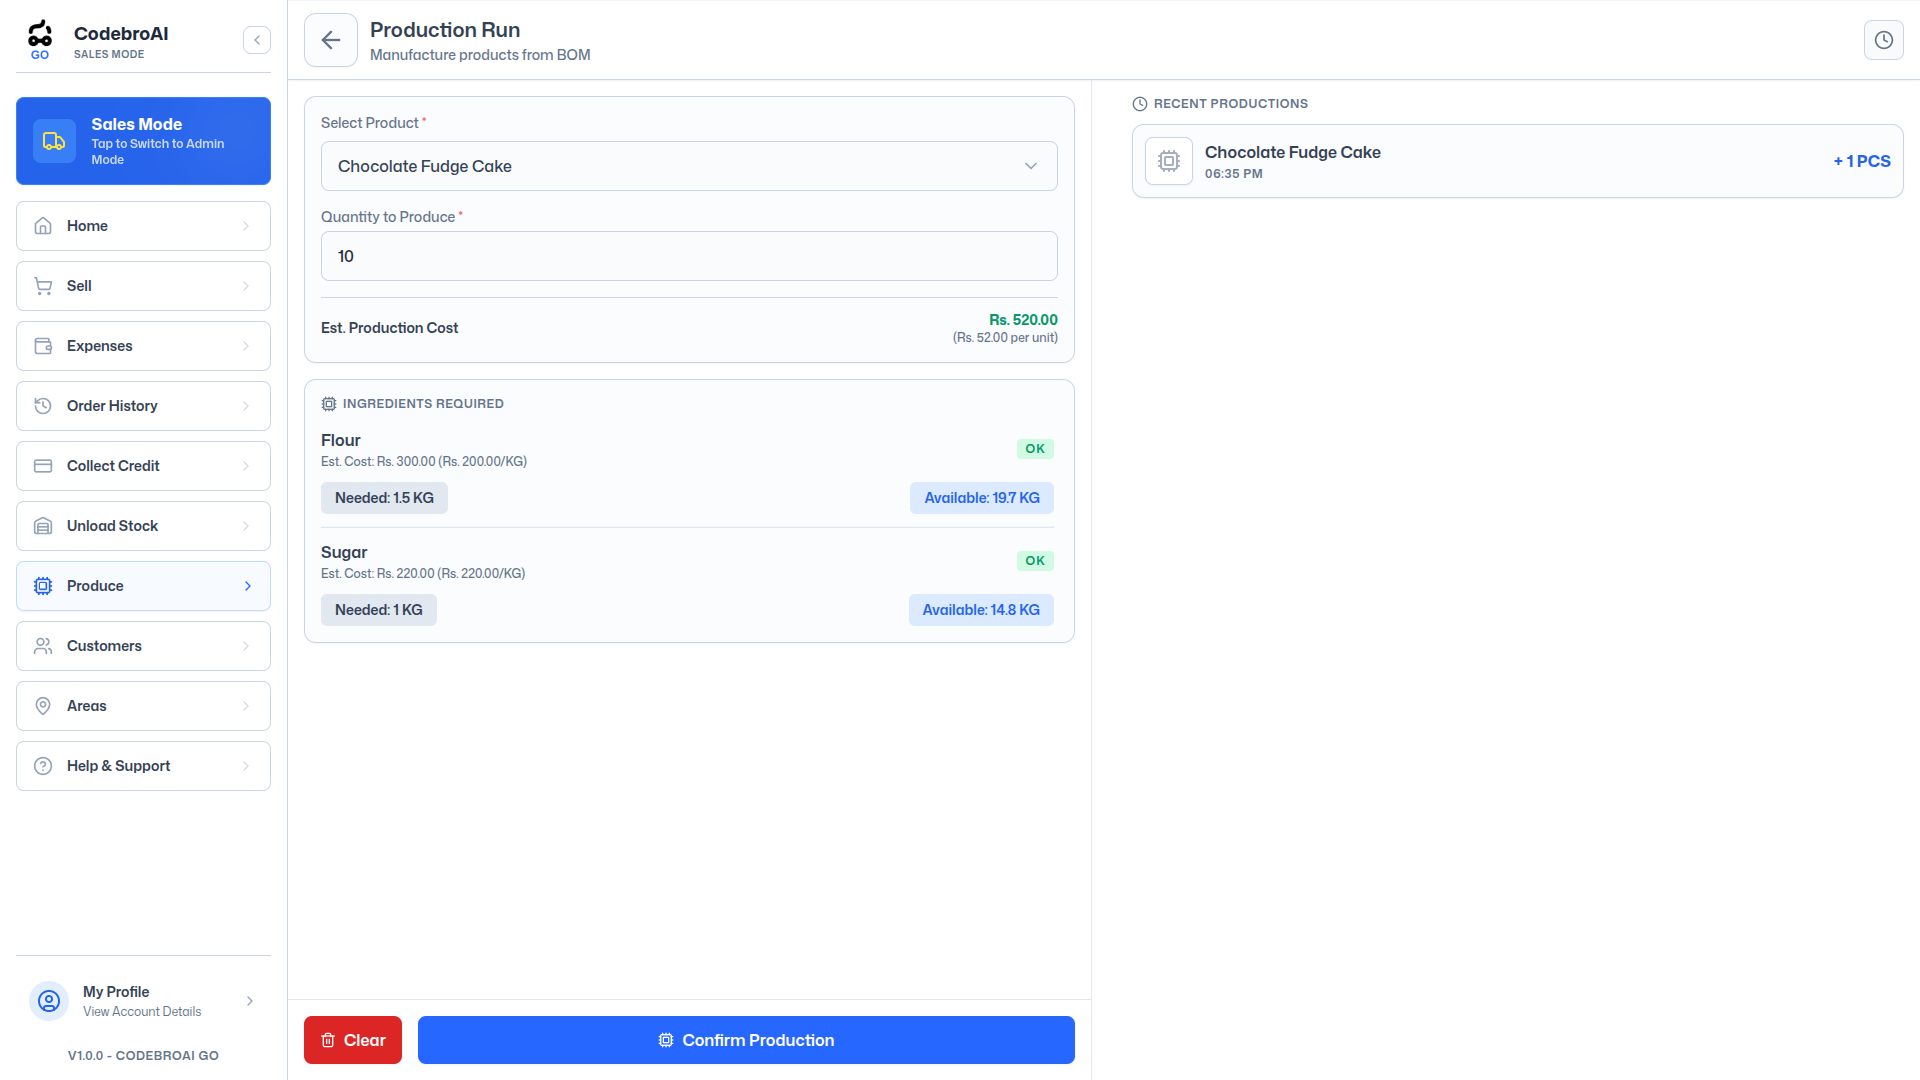
Record Production Batch Logs
When recording a manufacturing output, the system deducts ingredient stocks in real-time and registers finished goods inventory.
- Input output batch count (e.g. '10 Cakes manufactured').
- The system calculates batch cost yields and reports raw material wastage levels based on recipe rules.
Staff Roles & Access
Define Permissions and Employee Registry Profiles
Control access limits across terminals. Staff profiles define what actions field reps, cashiers, and managers can perform.
Create Staff Profile Credentials
Register worker name, mobile phone identifier, and set password keys. These keys authorize mobile app access.
- Set system access roles: Cashier, Representative, Manager, Administrator.
- Assign specific workspace locations or route vehicles to individual staff members.
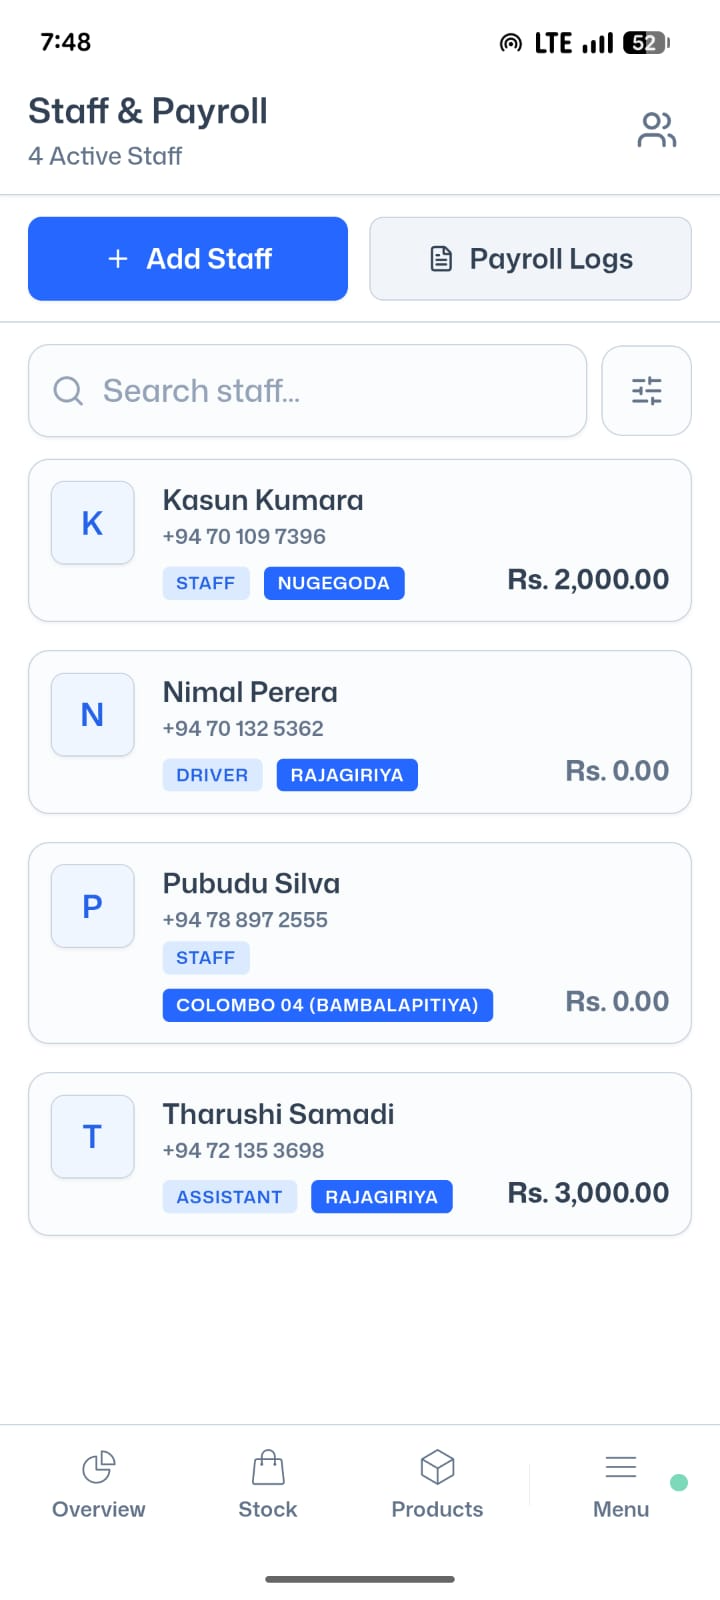
Configure Wage Rules & Advances
Define payroll calculation methods and track cash advance structures.
- Select salary index: monthly flat rate or hourly wage variables.
- Log salary advances against shift sheets to automate month-end payroll deduction.
Credit Limits & Outstanding
Enforce Credit Limits and Track Collections
Control wholesale risks. Set credit ceilings per customer and monitor outstanding debts and field collections.
Define Credit Limit Ceiling Criteria
Assign maximum outstanding balances and days limits to customer profile ledgers.
- Add custom limit amount (e.g. Rs. 50,000 credit ceiling).
- Set maximum age limit of unpaid balances (e.g. 30 days outstanding max).
- The POS app automatically locks transactions if credit thresholds are breached.
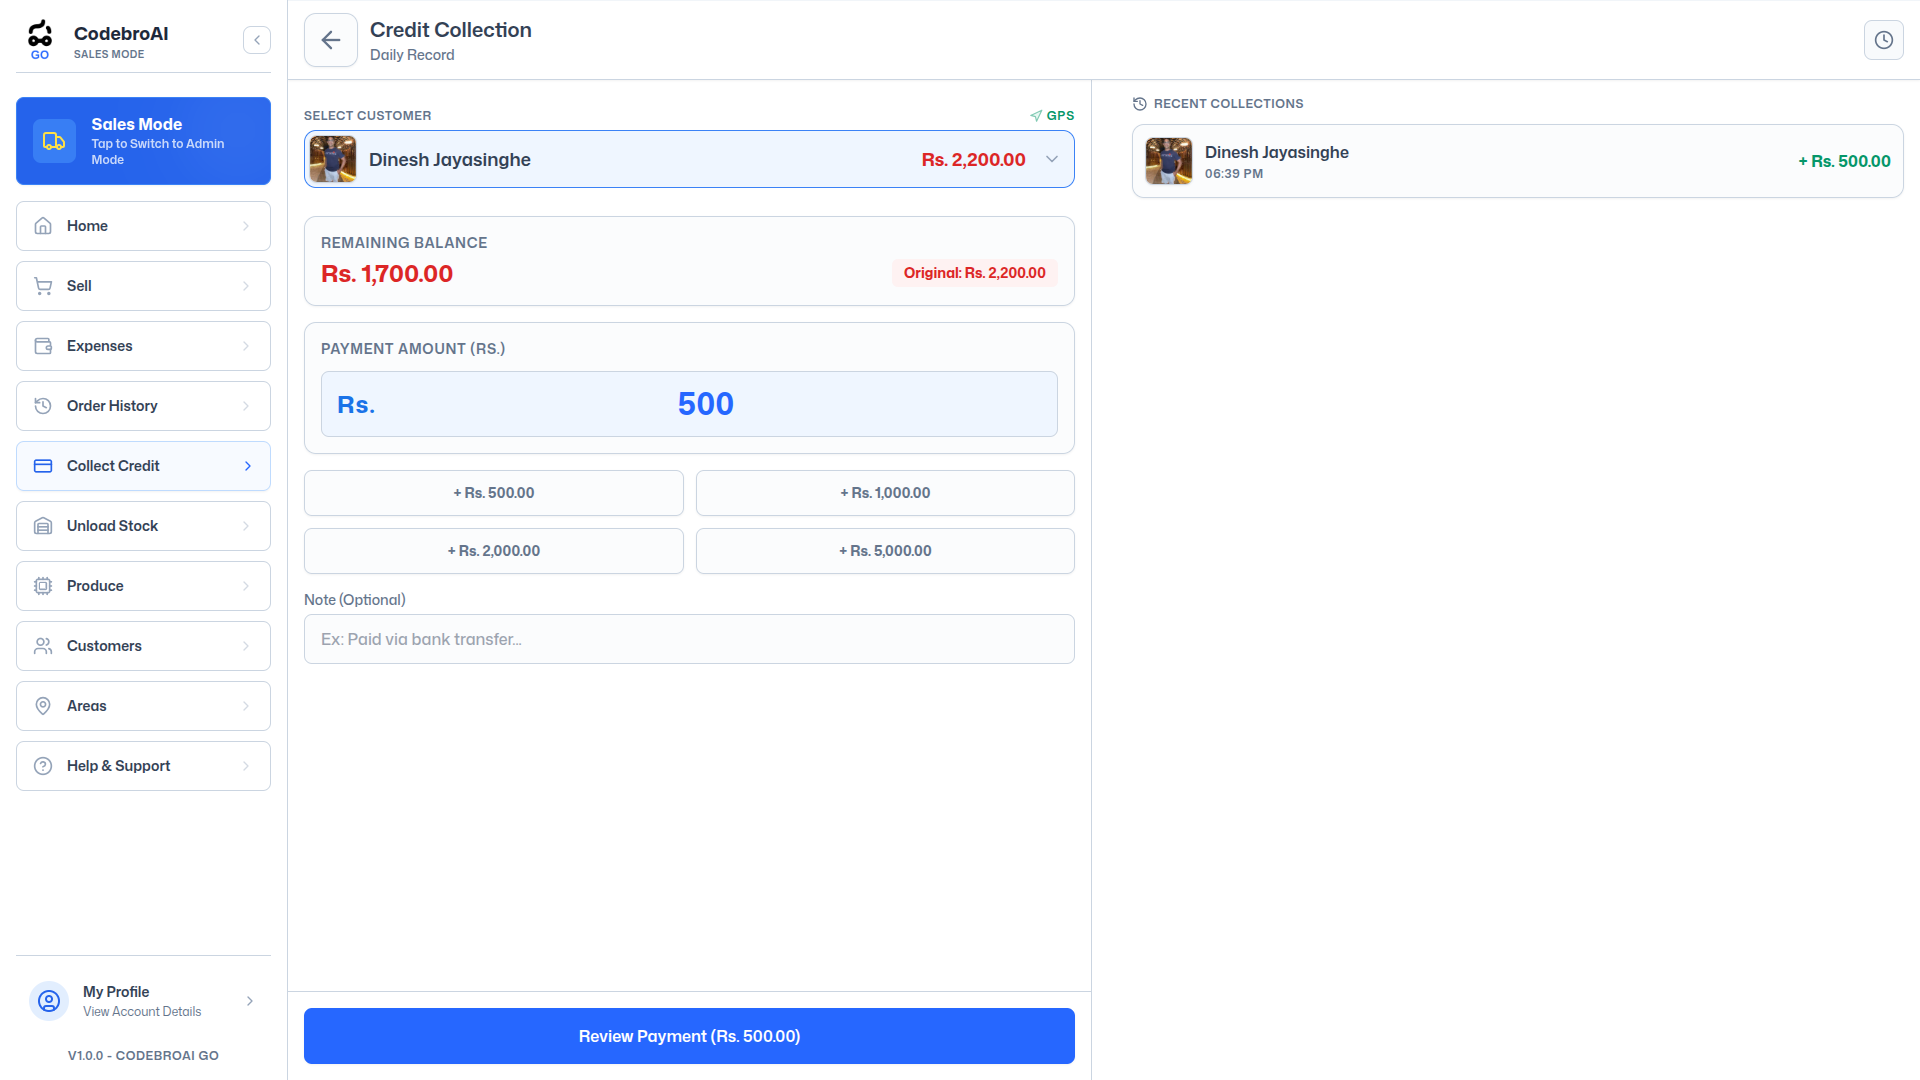
Setup Collection Ledgers
Log cheque details and cash receipts during field sales collections to ensure clean bank deposit logs.
- Record collection entry (cash, check parameters, date).
- Generate credit collection receipts for customers immediately.
Area & Route Settings
Assign Geographical Routes and Track GPS Logs
Organize customers geographically to optimize field deliveries and track sales representative visit histories.
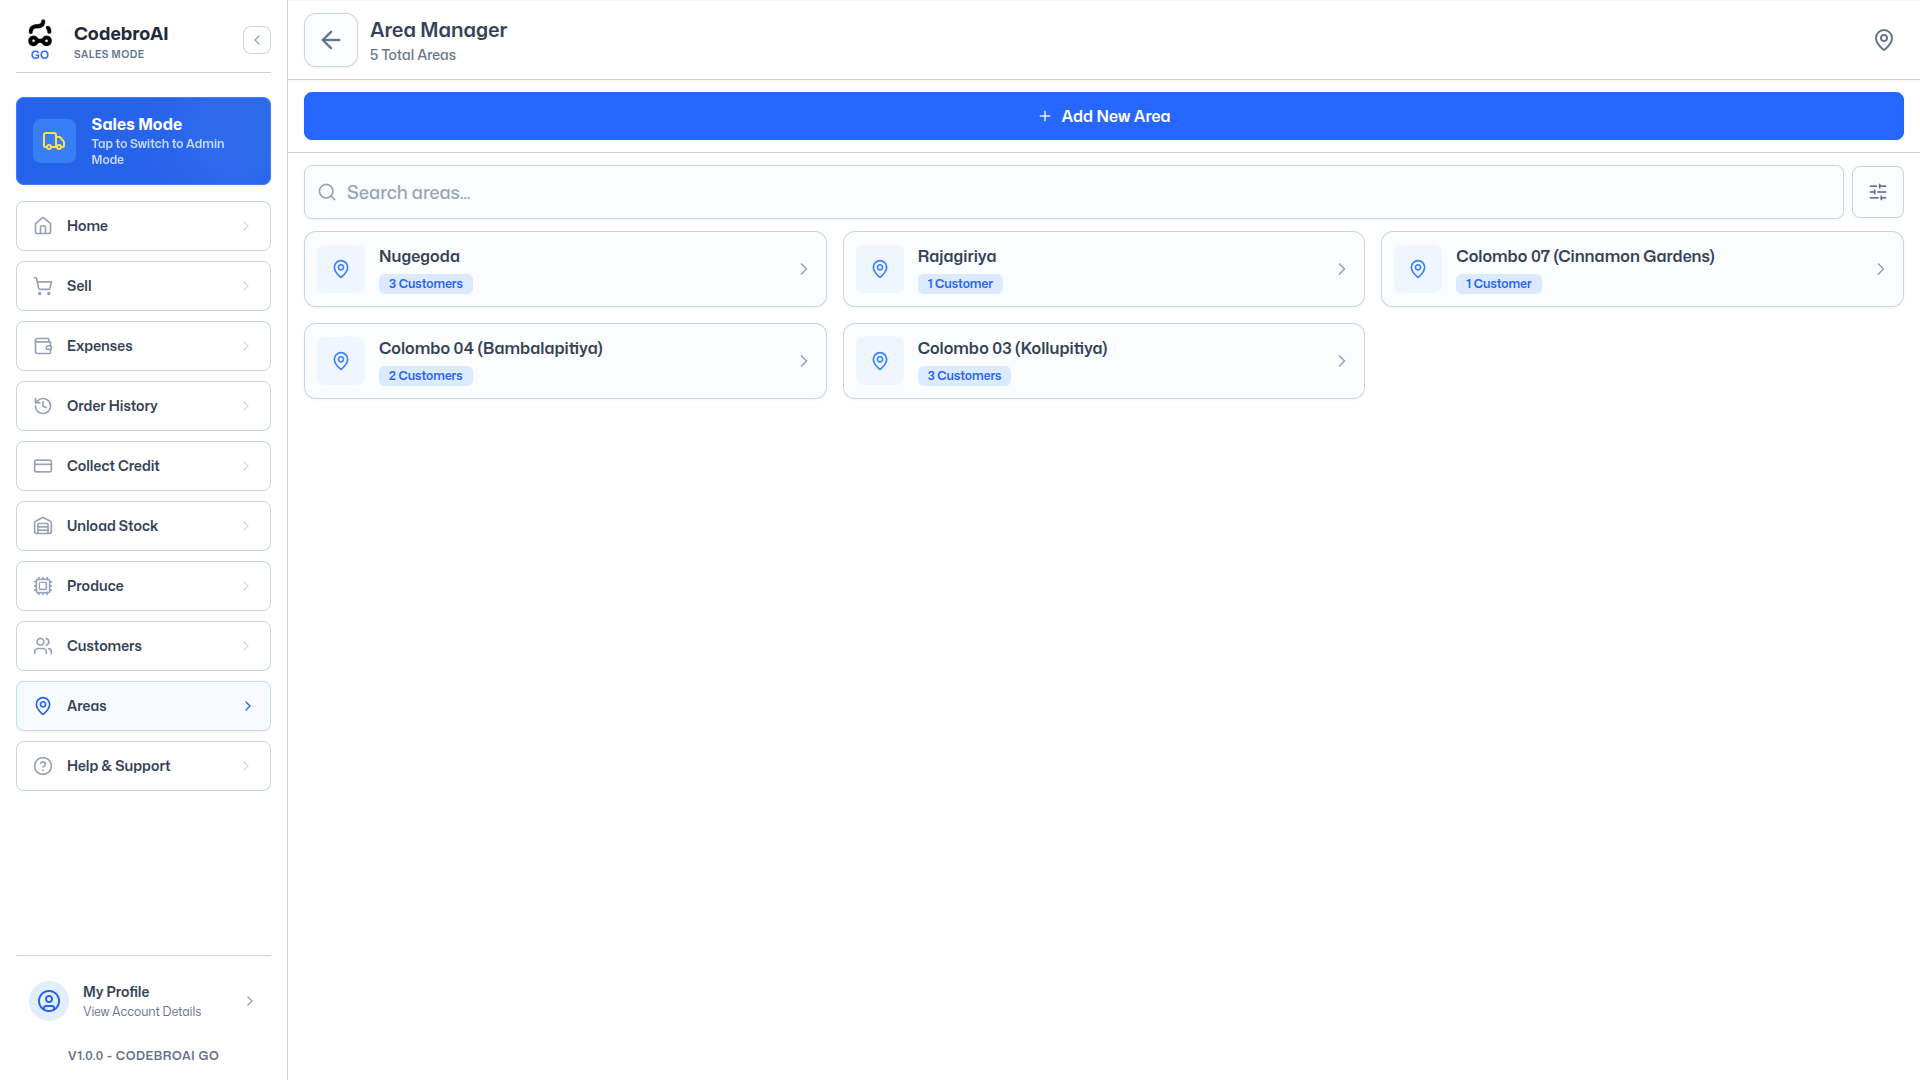
Create Area Nodes
Define target areas (e.g. 'Colombo 03', 'Kandy Central') to group your customers logically.
- Go to Areas -> Add Area.
- Assign local routes to delivery vans or field reps.
Set Proximity Parameters
Configure GPS verification tolerances on the mobile app checkout to verify that reps visit stores in person.
- Enable GPS checkout locks in settings.
- Review representative coordinate tracking logs on Google Maps.
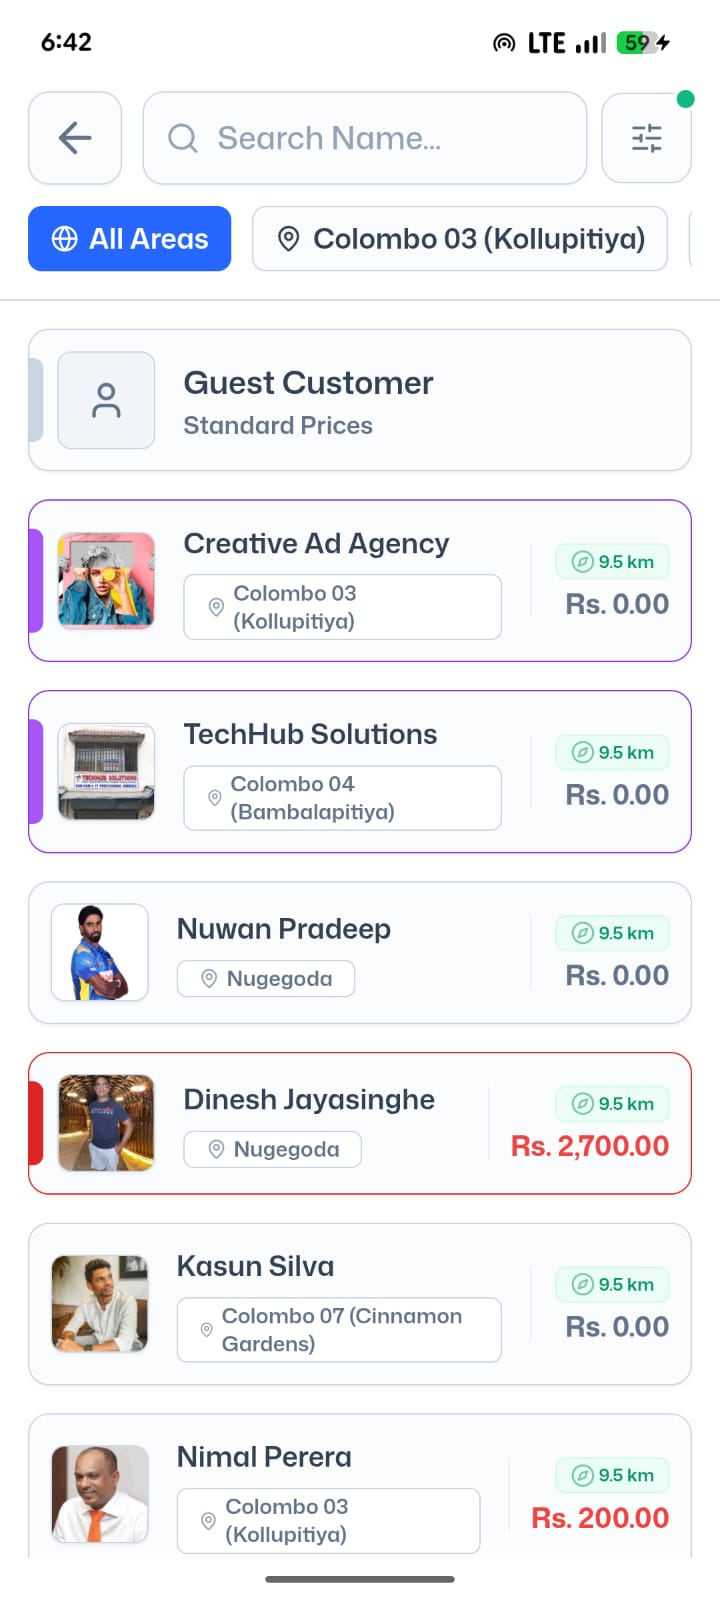
Android APK & Database Sync
Download the APK and Sync Offline Database
Install the native Android app, configure sync authorization tokens, and verify that the local Dexie/RxDB database replication runs successfully.
Install Android APK Package
Download the APK file from go.codebroai.com/go to your Android tablet or phone terminal.
- Enable 'Install from Unknown Sources' in Android settings.
- Launch the installer package.
Authorize Workspace Tenancy Sync
Input your tenancy workspace code into the mobile login client to connect to your Supabase container.
- Enter Tenancy Token (e.g., 'GB-COL-ROYAL-8892X').
- App imports product metadata, price books, and user profiles locally.
- Replication processes run in the background (Dexie/RxDB sync logs).